I think this may go into a second season with as many episodes it is taking on.
This
soooooooofaaaaaaaaa started out being made of stuff that was either left over or extras from some other project and refraining from additional purchases. I did, however, buy 3 more packages of buttons (5 per pack) to go with the 2 I already had. The sofa saga, as it's turning out to be, is my adventures (or misadventures) in furniture making (not a professional undertaking in any way). I am learning a lot of what-not-to-dos which is very helpful in narrowing down the what-to-dos. So, if you see something done incorrectly feel free to point it out. It won't hurt my feelings a bit.
Okay. So, the sofa is brought back out to work on. It got put aside for several other menial and not so menial projects. I needed a break to think of what I wanted to do about the shortage of fabric situation. It didn't start out to be a shortage. My lack of knowledge in upholstering created wasteful use of it. I didn't throw it away. I wound up with a lot of bits and pieces. It is still not complete. Solving one problem created another...repeatedly. Lack of fabric lead to me decreasing the padding and piecing scraps together to have enough to cover the arms only thing is, I'd already made the cushion with the original amount of padding measurement; adding piping as an accent to disguise the piecework lead to the desire to trim out the front to coordinate with the piping on the arms but don't have enough piping to do that and the nearest store is 30 plus miles away. Well, the trim just won't match because I really don't want to go to the fabric store. The fact that it won't match will eat me up but I will get over it.
Here's more in progress pictures:
See the dimples at the top of the arm? Both sides have them. It's where the padding was attached. It wouldn't have been visible had I added the layer of batting (that was the part of the padding removed due to lack of fabric...it was thick batting).
The piping on the top of the arms was used where I'd pieced fabric together. I think it would've been too much to add it at the long seams as well.
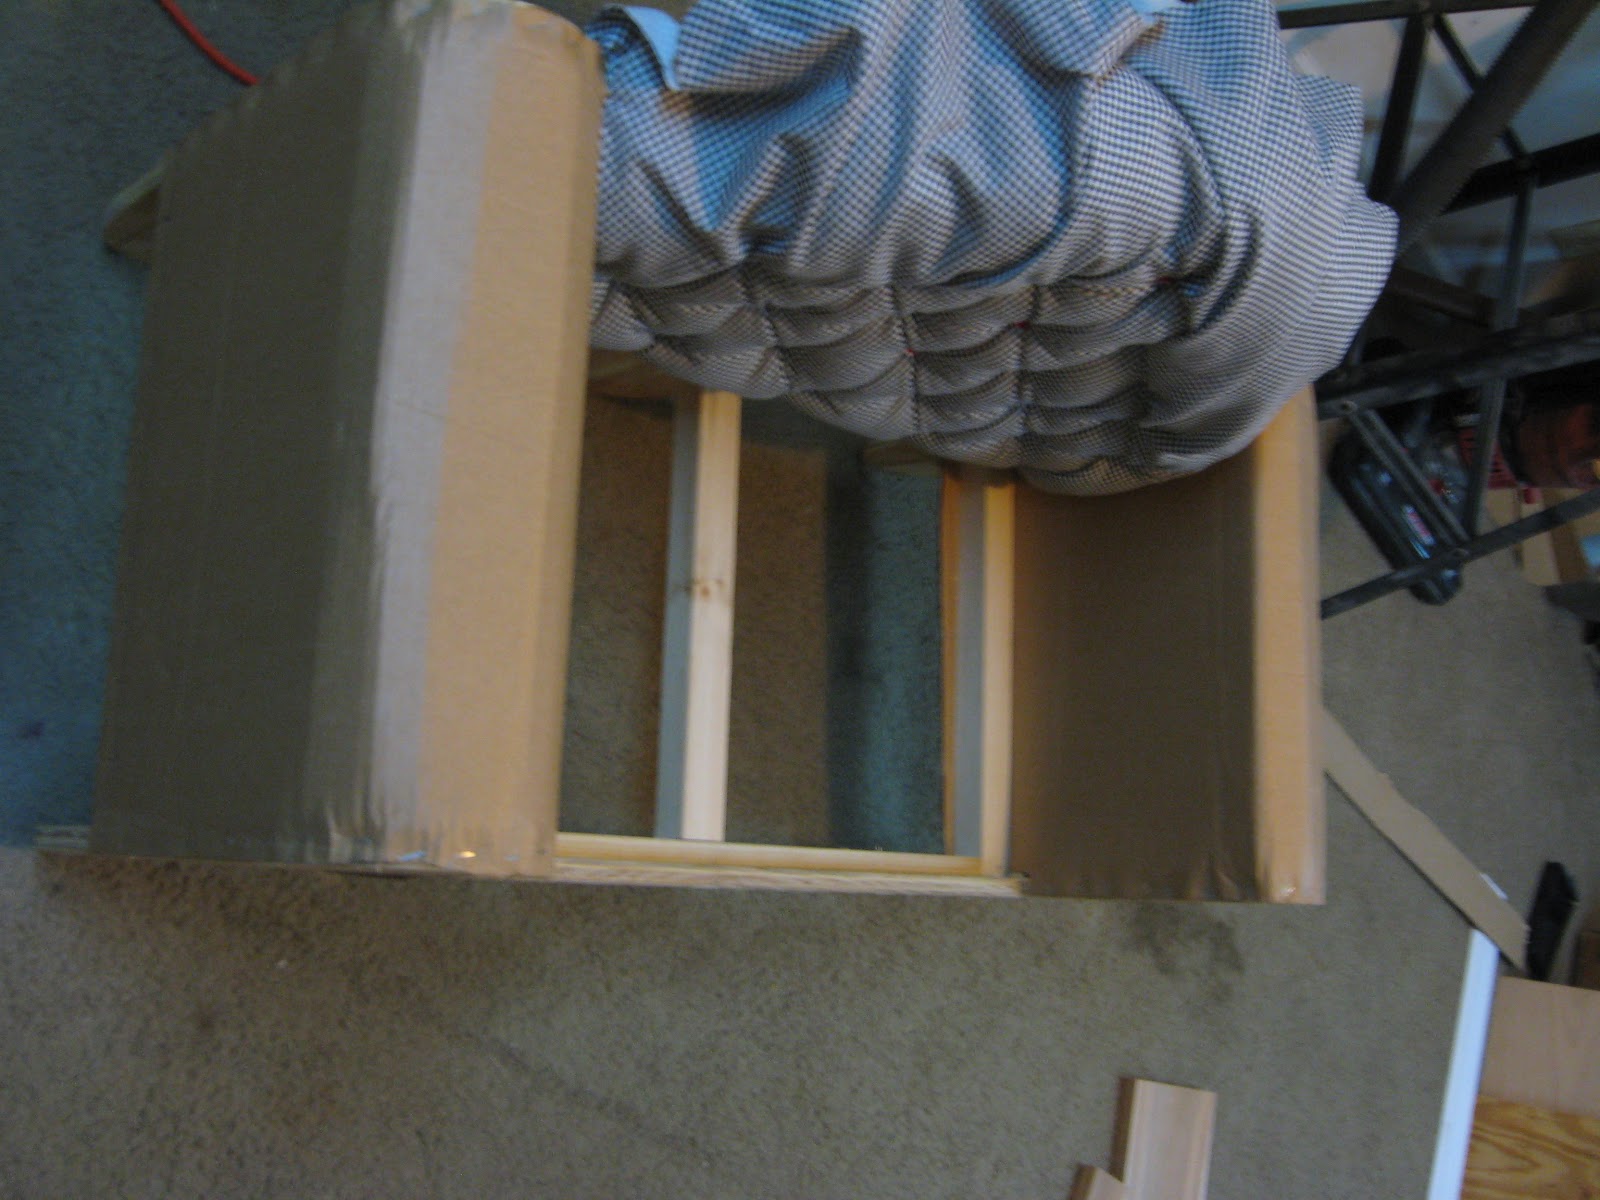
I covered foam core board with some thiiiiiiiiin batting and fabric. I thought I was going to have to do piece work on these as well. I used Tacky Glue in the middle and hot glue around the edges to secure the pieces in place on the front of the sofa. The above panels were placed at the fronts of the arms. I made two panels for the lower front (they had to be pieced due to the length of the foam core board as well as the sizes of the fabric pieces that were left.).
It got 2 coats of black paint in the areas that may be exposed due to gaps at the seams of the panels.
The lower front panels in place. I thought I took pictures with the arm front panels in place....Oh, well...next episode...
A super basic box cushion. The red? Well, it was part of the fabric shortage solution. It was left over from another project (or one that didn't get started...it was in the remnants box so it was fair game). I covered the buttons for the tufting (that are yet to be added) with it so it'd coordinate.
It has the UGLIEST green zipper (28" enormous plastic one that I've had for at least 15 years!) in the back but it's okaaaaaaay. (that's me telling me that it's okay)
It being my first box cushion, I am happy with the way it turned out. (Yes, it would've looked awesome with some of that red piping that I had a shortage of around it!)